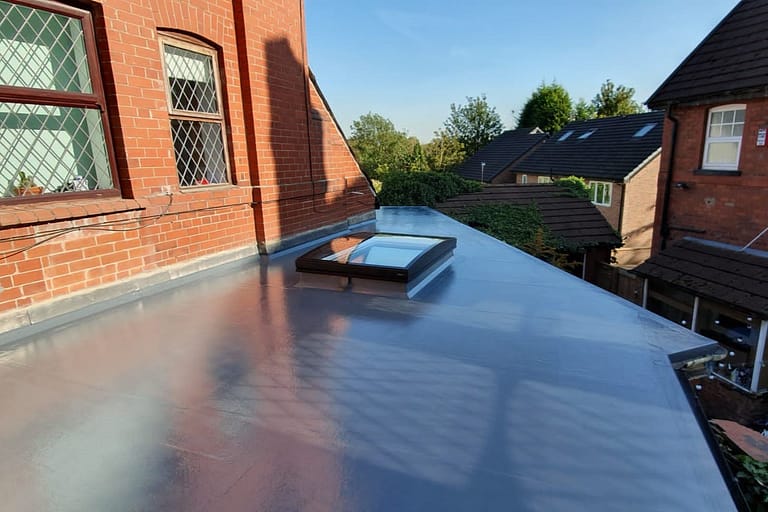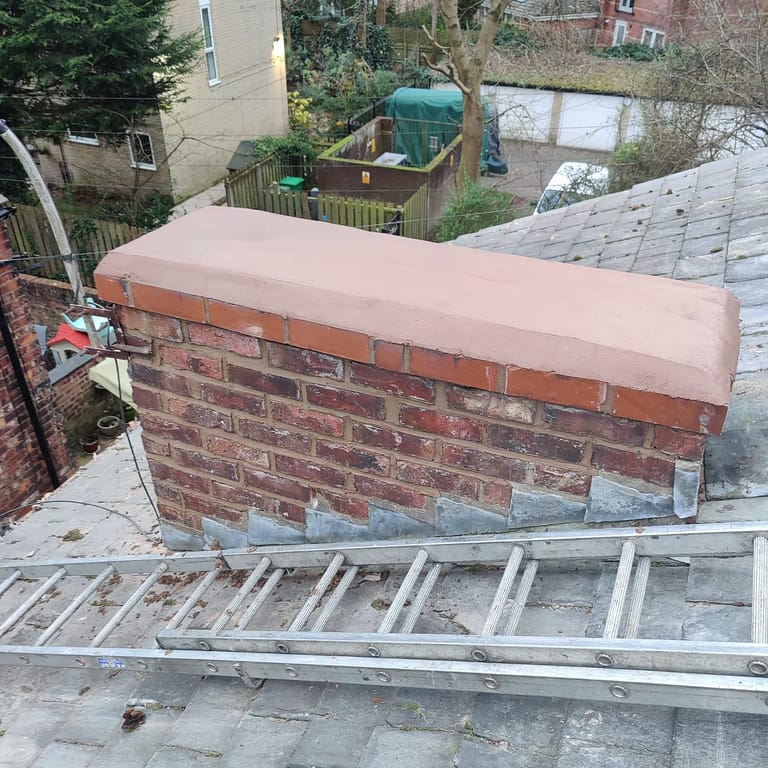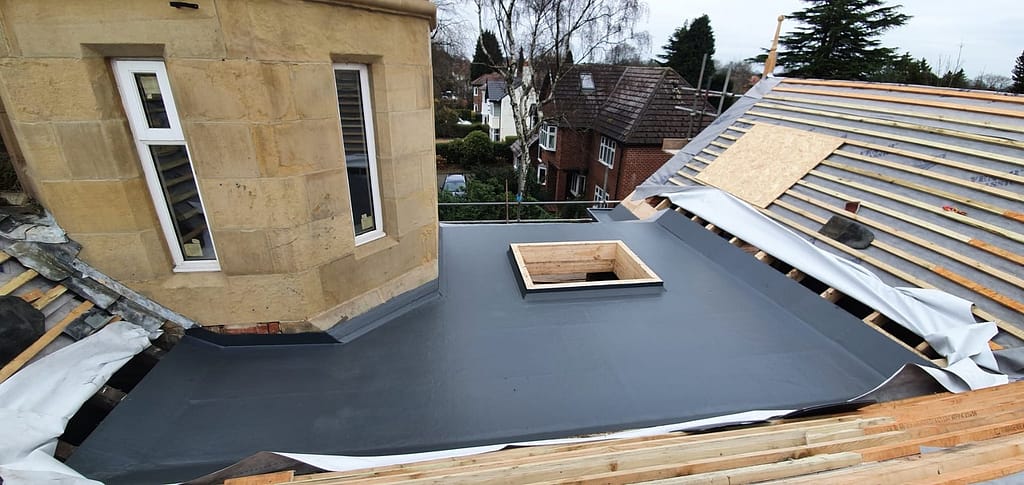
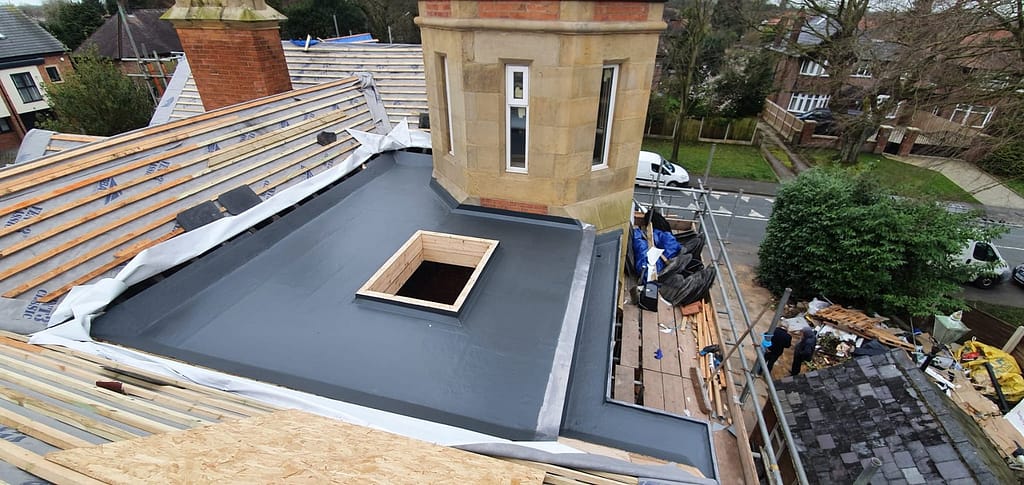
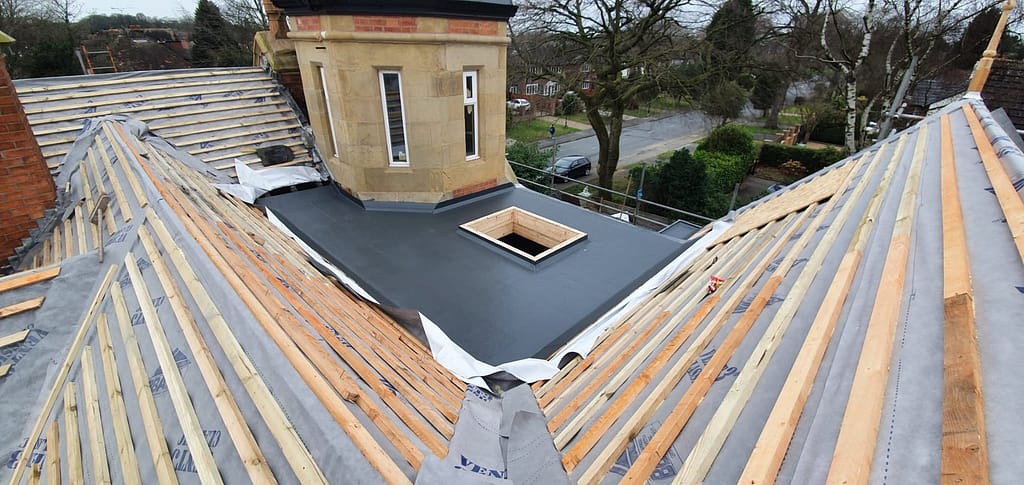
If you’re looking for a roofing solution that is cost-effective, durable, and long-lasting, GRP (Glass Reinforced Plastic) roofing might just be the right option for you. In this blog, we will be discussing a recent GRP reroofing project we undertook in Sale, Manchester on an OSB installed deck. We will take you through the entire process, from installing the preformed GRP trims to lead flashing the wall, to help you gain a better understanding of the process involved in GRP reroofing.
Understanding GRP Reroofing
GRP, also known as fibreglass, is a composite material made up of a plastic matrix reinforced with fine fibres of glass. GRP roofing is becoming increasingly popular among homeowners and businesses because of its durability, cost-effectiveness, and versatility. GRP roofs can last up to 30 years with minimal maintenance and are resistant to weather damage, UV rays, and fire.
The Sale, Manchester Project
The project involved reroofing a property in Sale, Manchester with a 3-layer GRP system. Here’s a step-by-step guide on how we did it:
Step 1: Installing the Preformed GRP Trims
- The first step in any GRP roofing project is to install the preformed GRP trims to the entire perimeter and roof lantern sections. The trims are fixed to the deck using GRP resin and provide a smooth and tidy finish to the edges of the roof. We used preformed GRP trims to ensure the project was completed quickly and efficiently.
Step 2: Bandaging All Joints and Corners
- The next step was to bandage all joints and corners using GRP matting and resin. The matting is cut to size and applied to the joint or corner, followed by a layer of resin. This process is repeated until the joint or corner is reinforced and completely sealed.
Step 3: Installing the 3-Layer GRP System
- The third step was to install the 3-layer GRP system. The first layer is the coat of resin, followed by the chopped strand matting, and another layer of resin. This process is repeated three times, creating a robust and waterproof membrane. We used a dark grey topcoat to finish the roof and ensure it blended seamlessly with the existing architecture.
Step 4: Lead Flashing the Wall
- Finally, we lead flashed the wall to ensure the GRP roof was completely waterproof. Lead flashing is a crucial part of any roofing project, as it helps to direct water away from the roof and prevent it from seeping into the property.
Trust DM Roofing for Your GRP Reroofing Needs
In conclusion, the GRP reroof we undertook in Sale, Manchester on an OSB installed deck was a success, thanks to our team’s expertise and attention to detail. The preformed GRP trims, 3-layer GRP system, and lead flashing on the wall ensured the roof’s durability and longevity. If you’re considering a GRP reroof for your property, look no further than DM Roofing. Our team of experts will provide you with quality workmanship, competitive pricing, and excellent customer service. Contact us today to discuss your GRP reroofing needs.

