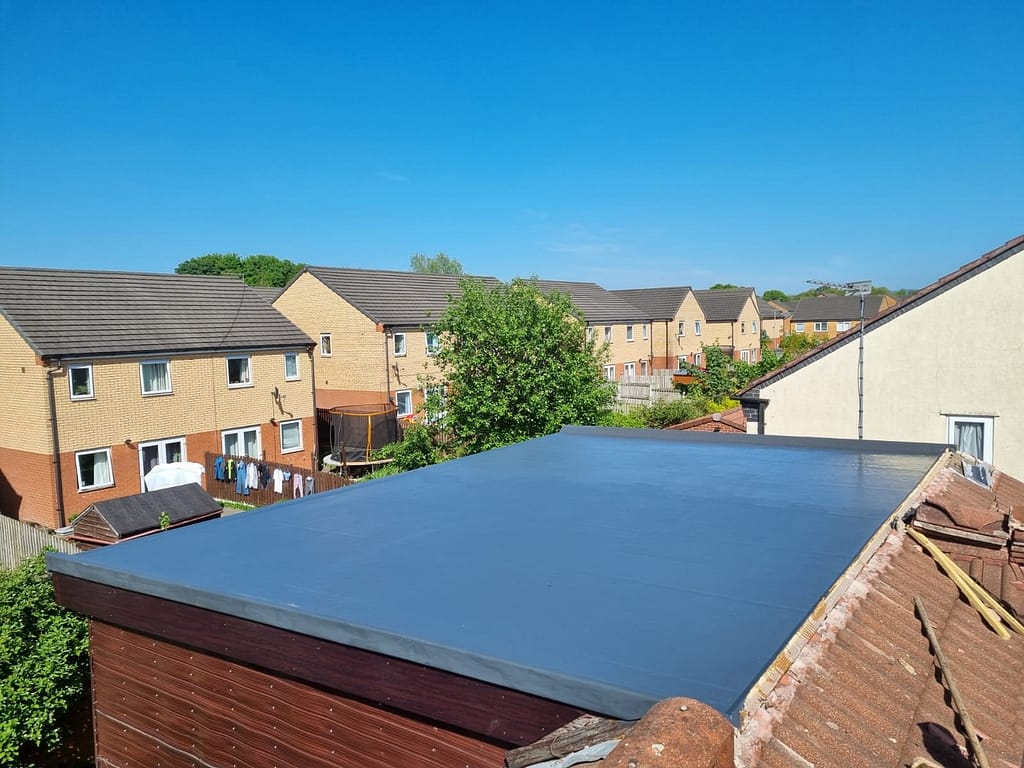
At DM Roofing, we pride ourselves on delivering high-quality roofing solutions that stand the test of time. One such solution is GRP (Glass Reinforced Plastic) roofing, known for its durability, cost-effectiveness, and versatility. In this blog, we’ll detail a recent GRP roof installation on a dormer in Tameside, providing insight into the process and the benefits of choosing GRP for your roofing needs.
What Makes GRP Roofing a Great Choice?
GRP, or fibreglass roofing, is a composite material consisting of a plastic matrix reinforced with fine glass fibres. It has become increasingly popular due to its many advantages:
- Durability: GRP roofs are highly resistant to weather, UV rays, and fire, making them a long-lasting roofing option.
- Low Maintenance: Once installed, GRP roofs require minimal maintenance, saving homeowners time and money.
- Seamless Finish: The application process creates a continuous, joint-free surface that is completely waterproof.
- Versatility: GRP can be applied to a variety of roof shapes and sizes, making it suitable for different architectural styles.
The Tameside Flat Roof Project
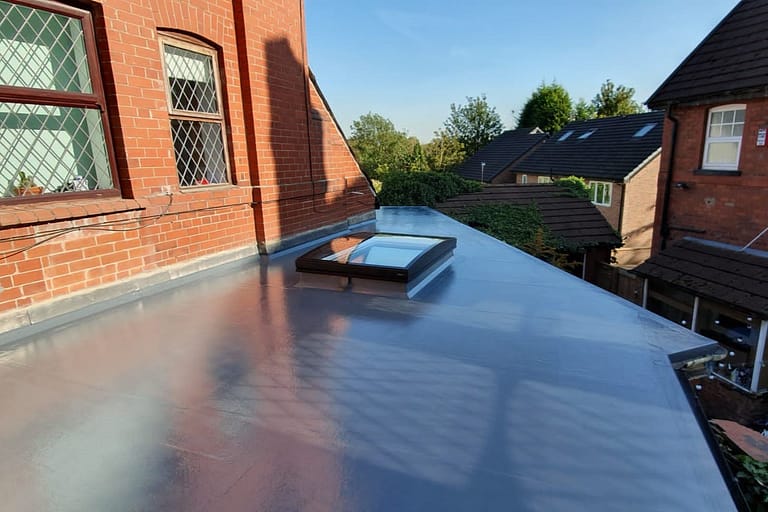
Our recent project in Tameside involved installing a GRP roof on a dormer. Here’s a detailed look at how we executed the project.
Step-by-Step Process
Step 1: Preparing the Surface
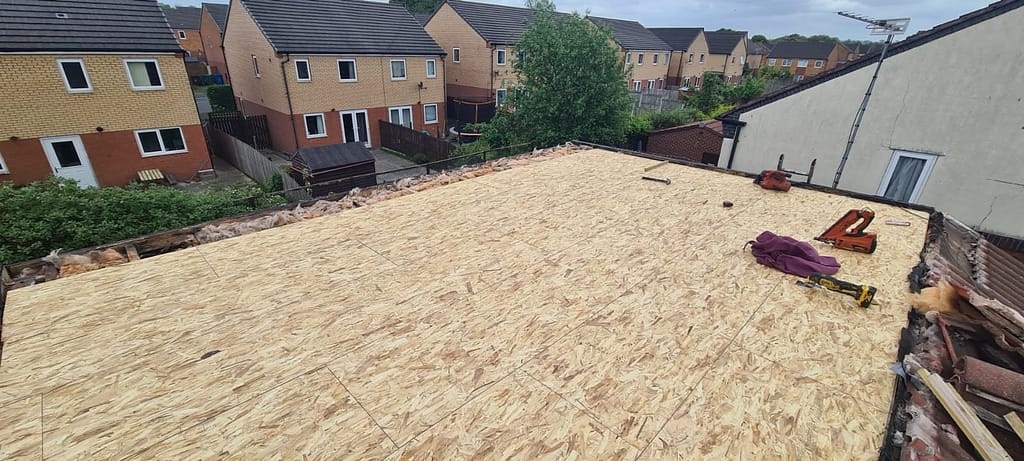
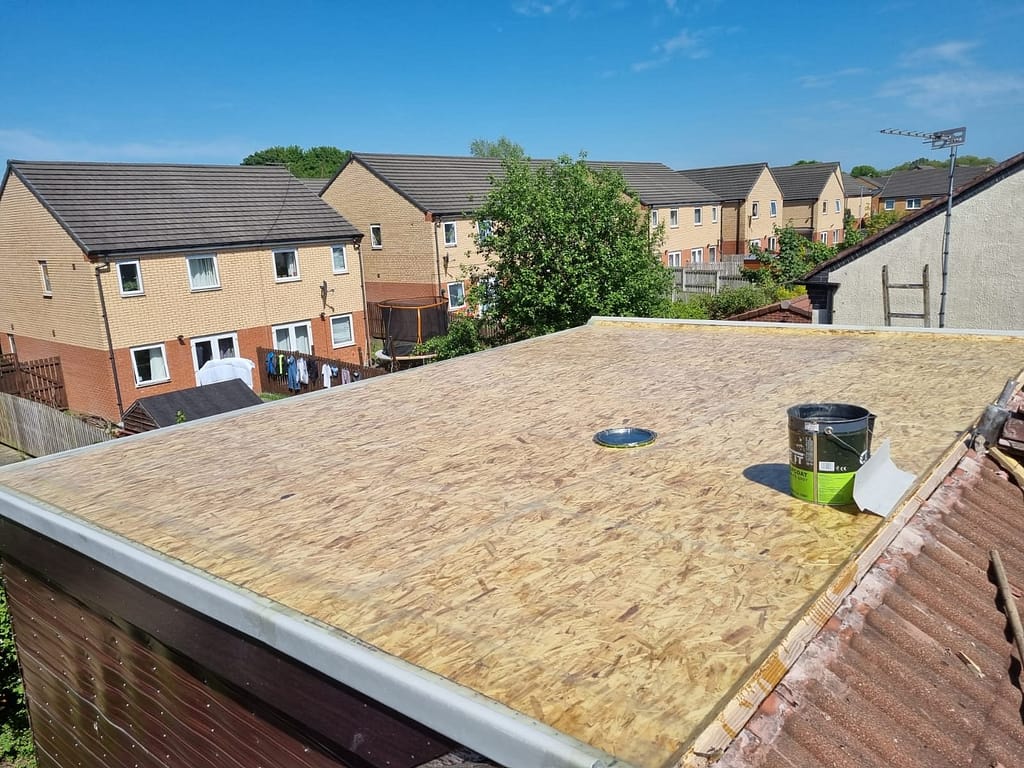
- The first step in the GRP roofing process is preparing the surface of the dormer. This involved cleaning and ensuring the deck was dry and smooth. Any existing materials that could interfere with the application were removed to provide a clean working surface.
Step 2: Installing Preformed GRP Trims
- Next, we installed preformed GRP trims around the edges of the dormer roof. These trims are crucial for creating a neat finish and ensuring that the edges are well-protected against water ingress. The trims were fixed securely in place using GRP resin.
Step 3: Applying the Base Layer
- We then applied the base layer of resin to the prepared surface. This involved evenly spreading the resin to form the first layer of the waterproof membrane. The resin was allowed to cure, creating a strong base for the subsequent layers.
Step 4: Laying the Fibreglass Matting
- Once the base layer was cured, we laid the fibreglass matting over the entire surface. This matting provides reinforcement and increases the strength of the roof. We then applied another layer of resin over the matting, ensuring it was fully saturated and bonded to the base layer.
Step 5: Applying Additional Layers
- To ensure maximum durability and waterproofing, we applied additional layers of resin and matting as needed. This multi-layer approach creates a robust and long-lasting roofing solution. Each layer was allowed to cure thoroughly before the next was applied.
Step 6: Finishing with a Topcoat
- The final step was applying a topcoat to the cured GRP surface. We used a dark grey topcoat to match the existing architecture and provide a sleek, modern look. The topcoat also adds an extra layer of protection against UV rays and weathering.
Step 7: Final Inspection and Cleanup
- After the topcoat had cured, we conducted a final inspection to ensure the roof was perfectly installed and fully waterproof. We then cleaned up the work area, leaving the property in pristine condition.
Why Choose DM Roofing for Your GRP Roofing Needs?
Our GRP roof installation on a dormer in Tameside is an example of the quality and attention to detail DM Roofing brings to every project. With over 25 years of experience, we offer a range of roofing services, including slate and tile reroofing, repairs, and gutter cleaning. We provide no-obligation quotes, no hidden fees, and no call-out charges, ensuring transparency and peace of mind for our customers.
If you’re considering a GRP roof for your property, trust the experts at DM Roofing. Contact us today to discuss your roofing needs and learn how we can provide a durable and stylish solution for your home.

